Bambu X1 Series

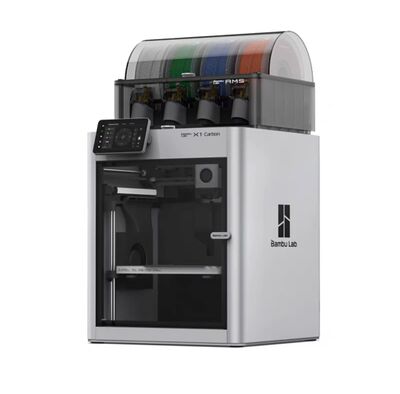
The X1 series specializes in speed like the Bambu P1 Series. Unlike the P1, the X1 has a few features that make it specially good for printing exotic filaments and combinations of filaments.
The speed of the X1 series allows for small prints to be completed in a matter of minutes, our 3D Benchy benchmark print is completed in under 14 minutes on a X1 series printer, while on an Creality Ender 3 it usually takes 2 hours.
The X1 is reserved for special use cases, if you have a standard PLA print, its probably best to use the Bambu P1 Series or Creality Ender 3. PLA printing performance is identical on the X1 compared to P1.
Printing
To print to a X1 series printer you must slice and send your file on the 3D printing PC. Printing with Orca Slicer
A previous print can be rerun using the built in file system, touch the folder icon on the left of the display and select the name of your previous print.
AMS

The X1 features an AMS for loading up to 4 materials into the printer at once. This allows for complex multi-color and multi-filament prints.
It is important to note that abrasive and soluble filaments are not allowed to be loaded into the AMS. They will damage its internals and should be loaded via the normal spool holder at the back of the printer.
When a filament is loaded into the AMS, make sure to tell the printer what kind of filament it is. This can be done from the AMS panel on the printer's display.
Design Considerations

Buildplate
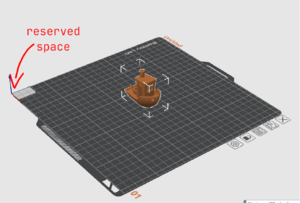
An important thing to note for the X1 is its buildplate. This plate is double sided, featuring a 'cool' and 'hot' plate. Refer to the markings on the plate for which side to use for your filament. The cool plate in particular also requires a layer of gluestick between your print and plate. Without gluestick your print will become permanently bonded to the plate.